
Point of sale · Store operations
Stop rebuilding your store for counter sales: a practical WooCommerce POS checklist
Disclosure: DeDanix builds DeDanix POS for WooCommerce. This article is a practical checklist, not an independent ranking.
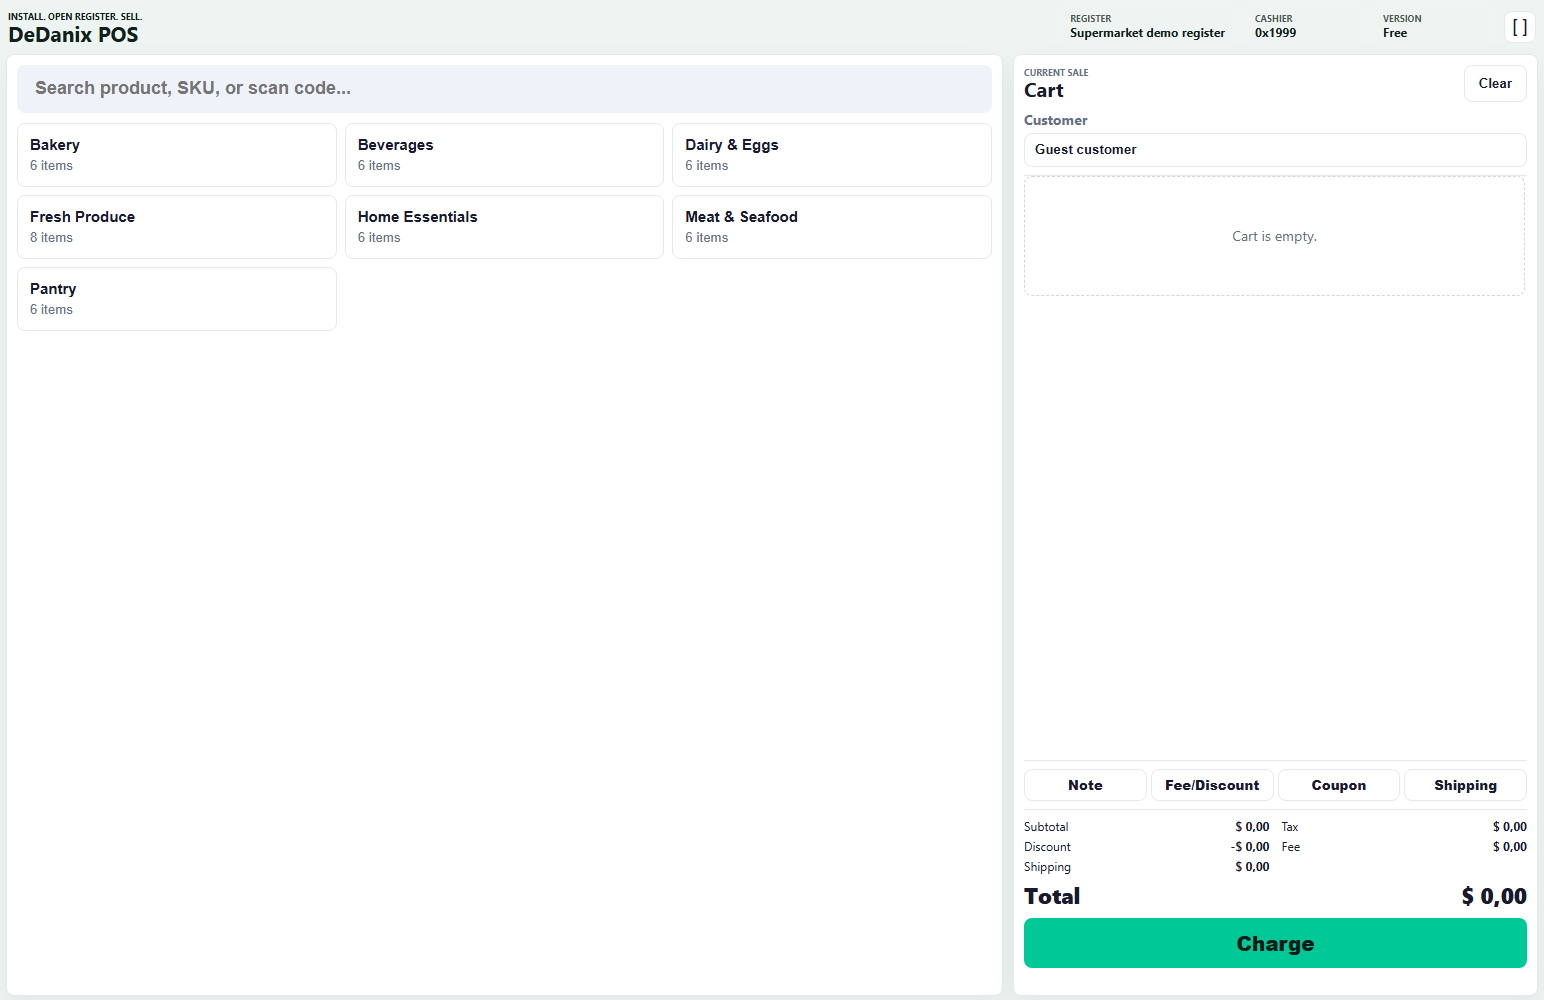
Use one product catalog
Before choosing a POS, confirm that it uses your existing WooCommerce products rather than asking staff to recreate them. Test product names, SKUs, prices, taxes, stock status and categories with a small copy of your real catalog.
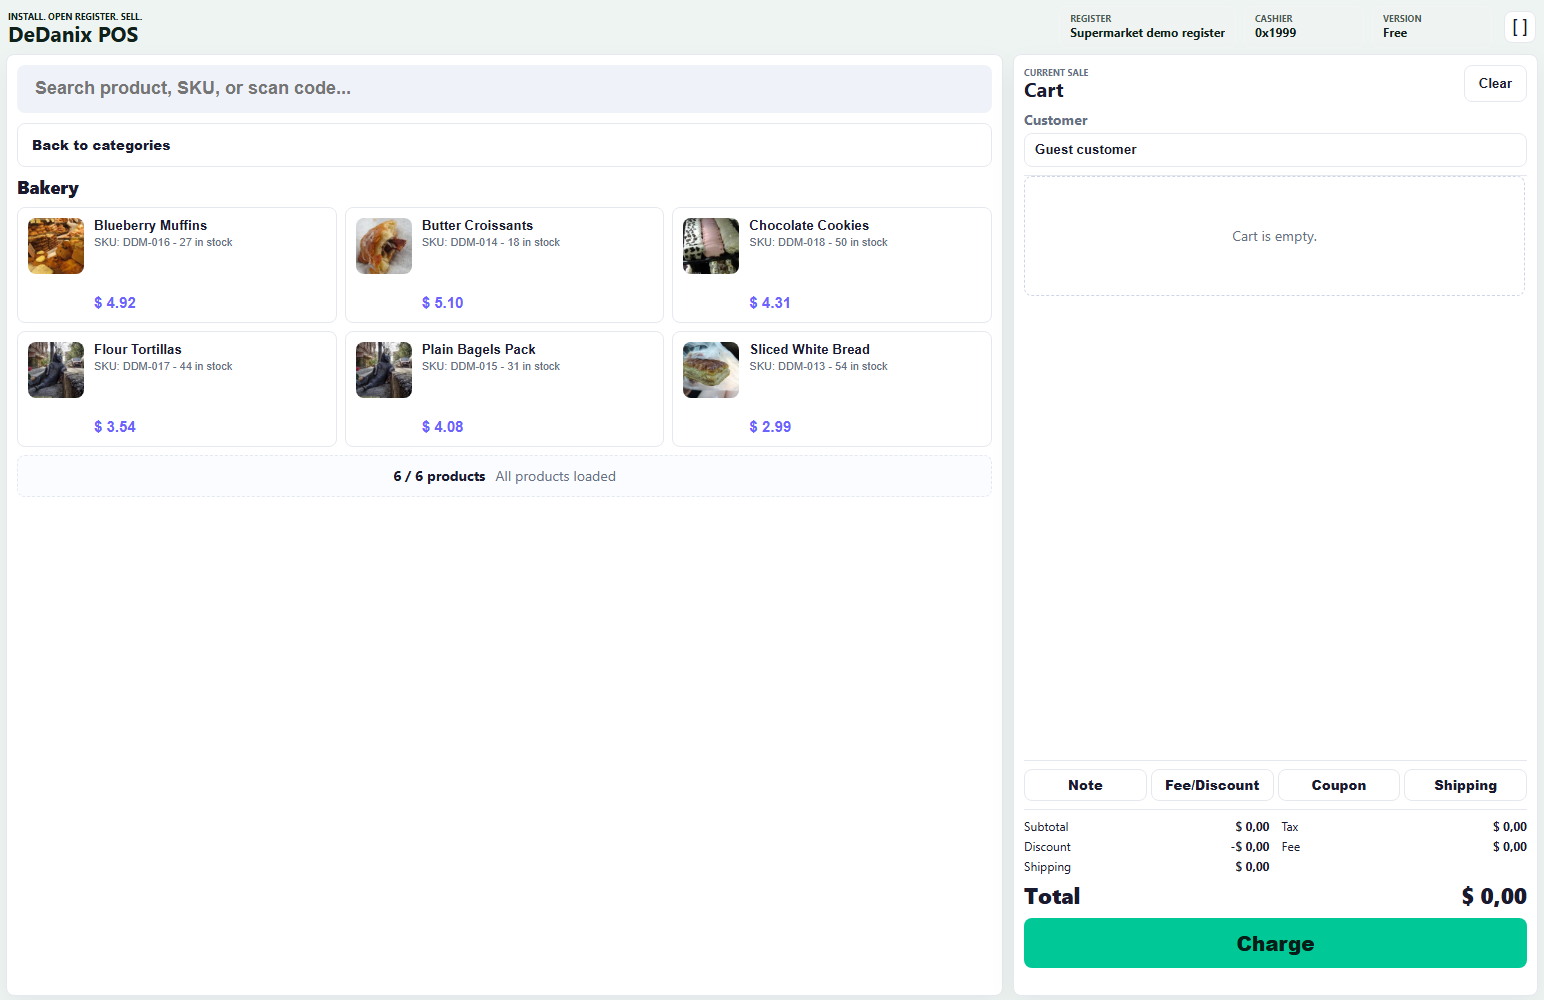
Use one order history
A counter sale needs a normal WooCommerce order behind it. That gives the store a consistent record for fulfilment, reporting and customer support. Run a test sale and find the resulting order in WooCommerce before relying on a register during opening hours.
Use one stock position
When a physical sale succeeds, the relevant WooCommerce stock should be checked first and updated after the order is created. Do not assume this: test a low-stock item and make sure the outcome matches your product settings.
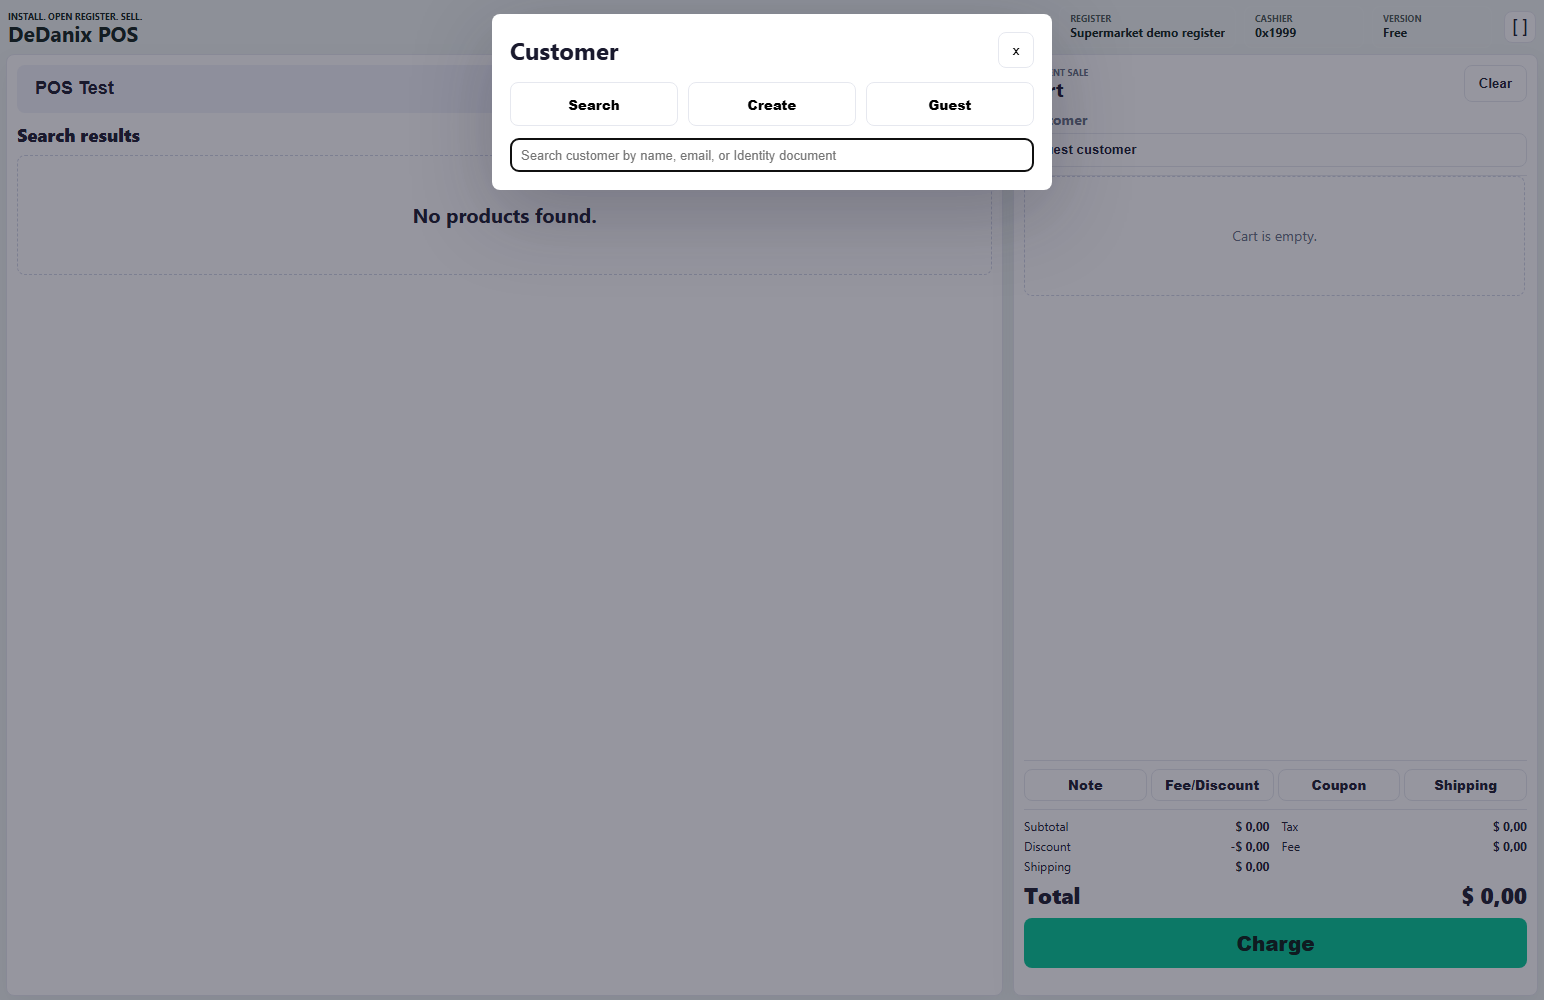
A five-minute counter workflow to test
- Open the register on the device your staff will use.
- Find a product by name, then find another by SKU or scanner input.
- Add, remove and adjust quantities in the current cart.
- Complete a test sale using a payment method you have configured.
- Open WooCommerce and confirm the order and stock result.
Write down any need for offline selling, fiscal integrations, warehouse routing, delivery management, per-location stock allocation or multiple simultaneous registers. These are separate operational requirements, not details to discover after installation.
Explore the POS product
DeDanix POS for WooCommerce is designed for product and SKU lookup, a compact cart and WooCommerce order creation in a dedicated register workspace. WooCommerce remains the source of truth for catalog, prices, stock and orders. The free edition supports one active POS cashier session at a time.
Explore POS